Welcome to our comprehensive guide on how to fix your broken lipstick! We understand how frustrating it can be when your favorite lipstick breaks, but worry not, we’ve got you covered. In this article, we will walk you through a step-by-step process to salvage, repair, and restore broken lipsticks, ensuring that you can continue rocking your favorite shades with confidence.
Let’s dive in and discover the secrets to reviving your broken lipsticks, saving both your money and your favorite shades!
| Takeaways |
| Understand the common causes of broken lipsticks. |
| Assess the severity of lipstick damage before repairing. |
| Gather the necessary tools and materials for repairs. |
| Salvage partially broken lipsticks using various methods. |
| Repair completely broken lipsticks with a step-by-step process. |
| Restore broken lipstick bullets using different techniques. |
| Follow preventative measures to reduce future breakage. |
| Troubleshoot common lipstick problems for solutions. |
| Explore further reading to enhance your knowledge. |
| Remember, a little care can prolong the life of your lipsticks. |
2. Understanding the Common Causes of Broken Lipsticks
Before we delve into the solutions, it’s essential to understand the common causes of broken lipsticks. By knowing what leads to their demise, we can take preventive measures to prolong their lifespan. Lipsticks can break due to various reasons, such as:
- Applying excessive pressure during application
- Exposure to high temperatures or direct sunlight
- Dropping or mishandling the lipstick tube
By being mindful of these causes, we can minimize the risk of encountering broken lipsticks in the future.
Fixing broken lipstick can be a hassle, but with the right techniques, it’s achievable. Learn how to achieve flawless makeup with our expert tips, ensuring your lip color stays perfect all day.
3. Assessing the Severity of Lipstick Damage

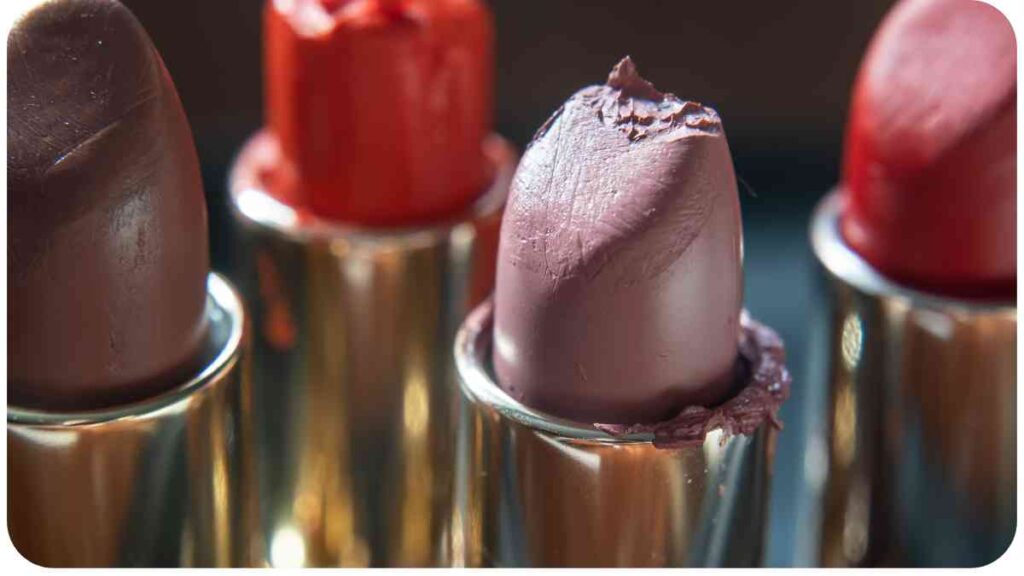
Not all broken lipsticks require the same level of repair. It’s important to assess the severity of the damage before proceeding with the appropriate fix. Here are the three most common types of damage to lipstick bullets:
- Partially broken lipstick: When the bullet is partially detached from the tube, but the remaining part is intact.
- Completely broken lipstick: When the bullet is separated into two or more pieces.
- Broken lipstick bullet: When the lipstick bullet has snapped off from its base, making it challenging to apply.
Understanding the severity of the damage will help you determine the repair method required for your lipstick. Let’s explore the step-by-step solutions for each type of damage.
4. Tools and Materials Needed
Before we start repairing broken lipsticks, let’s gather the essential tools and materials that will aid in the process:
- Clean tissue or paper towels
- A clean, small spatula or toothpick
- A lighter or hairdryer
- A small empty container or palette
- Rubbing alcohol or sanitizing wipes
- A clean makeup brush or disposable lip brush
- A lip balm or lipstick primer
Having these items ready will ensure a smooth and hassle-free repair process. Now, let’s move on to the step-by-step guides for fixing your broken lipsticks.
Protecting your skin from the sun is crucial, just like preserving your lipstick. Find out how to apply sunscreen properly to keep your skin healthy, complementing your makeup routine.
5. Step 1: Salvaging a Partially Broken Lipstick

When you have a lipstick that is partially broken and still usable, there are several methods you can utilize to salvage it. Refer to the table below for a quick overview:
| Method | Description |
| Freezing Method | Chill the partially broken lipstick to solidify and reshape it. |
| Softening Method | Heat the broken parts to soften and reattach them. |
| Pressing Method | Press the broken parts together with a clean spatula or toothpick. |
| Lipstick Mold | Transfer the usable part into a new lipstick mold. |
Choose the method that seems most suitable for your situation, and let’s proceed to the next step.
6. Step 2: Repairing a Completely Broken Lipstick
When your lipstick is completely broken into multiple pieces, don’t worry! You can still bring it back to life with a simple repair process. Here’s a table outlining the materials and steps for repairing a completely broken lipstick:
| Materials | Steps |
| Clean tissue | Remove any debris or dirt from the broken lipstick. |
| Lipstick bullets | Gather the broken pieces and arrange them in order. |
| Lighter or hairdryer | Heat the ends of the broken pieces for a few seconds. |
| Clean spatula or tissue | Press the heated ends together to reattach the lipstick. |
| Paper towel or tissue | Remove any excess melted lipstick around the repaired area. |
| Lip balm or lipstick | Apply a layer of lip balm or lipstick primer for smoothness. |
By following these steps, you’ll be able to mend your completely broken lipstick and ensure its usability once again.
Dry shampoo has its advantages and drawbacks, much like makeup products. Discover the pros and cons of using dry shampoo and ensure your hair looks its best, just like your lipstick.
7. Step 3: Restoring Broken Lipstick Bullets
If your lipstick bullet has snapped off from its base, you can still restore it to its former glory. Here are some techniques to restore broken lipstick bullets, listed in the table below:
| Techniques | Description |
| Freezing Method | Chill the lipstick bullet and reattach it to the base. |
| Heat Method | Soften the base and bullet, then press them together. |
| Lipstick Brush | Scoop out the lipstick bullet and apply it with a lip brush. |
| Lipstick Palette or Pot | Transfer the broken lipstick into a clean palette or pot. |
| Lipstick Mold or Empty Lipstick Tube | Mold the broken lipstick into a new tube or mold. |
Choose the technique that suits your preference and resources, and you’ll be able to salvage your broken lipstick bullet effectively.
8. Step 4: Preventing Lipstick Breakage in the Future
Now that you know how to fix your broken lipsticks, it’s important to take preventive measures to avoid encountering the same issue again. Here are a few tips to help prevent lipstick breakage in the future:
- Avoid applying too much pressure: Be gentle when applying your lipstick to reduce the risk of breaking the bullet.
- Store lipsticks in cool places: Heat can cause lipsticks to soften, making them more prone to breakage. Keep your lipsticks in a cool area away from direct sunlight or high temperatures.
- Use lip balm or primer as a base: Applying a lip balm or primer before your lipstick can provide a smoother application, reducing the chances of breakage.
- Avoid dropping lipstick tubes: Mishandling and dropping your lipstick tubes can lead to breakage. Handle them with care and ensure they are securely closed.
By implementing these preventative measures, you can prolong the lifespan of your lipsticks and enjoy them without the fear of breakage.
Nail art is a fantastic way to express yourself through beauty, similar to how makeup does. Stay trendy by exploring the nail art trends for 2023 and make your manicure match your lipstick style.
9. Troubleshooting and FAQs
Even with the best care, lipsticks can sometimes encounter issues. Here, we address common lipstick problems and provide solutions:
| Common Lipstick Problems | Solutions |
| Lipstick melting | Store your lipsticks in cooler temperatures or refrigerate them. |
| Lipstick drying out | Use a lip balm or store the lipstick in a humid environment. |
| Lipstick color fading | Apply a lip liner or primer before applying the lipstick. |
| Lipstick smudging | Set your lipstick with a translucent powder or use a lip liner. |
| Lipstick breaking easily | Consider using lipstick molds or transferring it to a palette. |
If you encounter any other issues with your lipsticks, feel free to reach out to us for personalized troubleshooting and guidance.
Beauty isn’t just about makeup; it’s also in the details like your jewelry. Find out why your silver jewelry might tarnish and learn how to maintain its shine. Care for your accessories just like you do for your lipstick.
10. Conclusion
Congratulations! You’ve learned the art of fixing your broken lipsticks. By following the step-by-step guide, you can salvage, repair, and restore your favorite shades, saving both your money and beloved lipsticks from going to waste.
Remember, when facing a partially broken lipstick, you can choose from various methods like freezing, softening, pressing, or even creating a new lipstick mold. When dealing with a completely broken lipstick, gather the pieces, heat them, and reattach them with a clean spatula. For broken lipstick bullets, restore them using techniques like freezing, heating, applying with a lip brush, or transferring them into a new container.
To prevent future breakage, ensure gentle application, storage in cool places, and the use of lip balm or primer. And don’t forget to troubleshoot common lipstick problems using the solutions provided.
Now that you hold the key to rejuvenating your broken lipsticks, go forth, repair with confidence, and continue flaunting your perfect pout with your favorite shades intact. Happy fixing!
Remember, a bold lip can transform your entire look, and with your newly acquired expertise, you can always be ready to fix any mishaps along the way.
Further Reading
For more information on fixing broken lipsticks and additional tips, you may find the following resources helpful:
- L’Oreal Paris USA – How to Fix Broken Melted Lipstick: This article by L’Oreal Paris provides a comprehensive guide on fixing melted and broken lipsticks, offering step-by-step instructions and expert advice.
- WikiHow – How to Repair a Broken Lipstick: If you’re looking for a visual guide on repairing broken lipsticks, WikiHow offers a detailed article with clear illustrations and easy-to-follow instructions.
- Sterling Minerals – How to Prevent and Fix a Broken Lipstick: Sterling Minerals provides insightful tips on preventing lipstick breakage and offers guidance on fixing broken lipsticks. Learn about techniques and precautions to keep your lipsticks intact.
These resources offer further insights and techniques to help you become an expert at fixing and maintaining your lipsticks.
FAQs
Here are some frequently asked questions about fixing broken lipsticks:
How do I know if a broken lipstick can still be salvaged?
Assess the severity of the damage. If the lipstick bullet is still intact and usable, even if partially broken, it can usually be salvaged. However, if the lipstick is completely shattered or the bullet has snapped off, it may require careful repair.
Can I fix a broken lipstick without using any tools?
In some cases, you may be able to salvage a partially broken lipstick by freezing it or applying heat. However, having tools like a clean spatula or toothpick can make the repair process easier and more effective.
Can I use a lipstick even if it has been repaired?
Yes, as long as the repaired lipstick is free from any debris or contaminants and has been properly reattached or restored, it can be safely used. Ensure that the lipstick has not expired or developed any noticeable changes in texture or scent.
How can I prevent my lipsticks from breaking in the first place?
To prevent lipstick breakage, avoid applying excessive pressure, store your lipsticks in cool places, and consider using a lip balm or primer as a base. Be careful when handling and storing the lipstick tubes to minimize the risk of mishaps.
Can I use lipstick molds to create new lipsticks from broken pieces?
Yes, you can use lipstick molds or empty lipstick tubes to create new lipsticks from broken pieces. This technique allows you to recycle and repurpose your broken lipsticks, giving them a new life in a different form.
Remember, by following the repair techniques outlined in this article and taking preventive measures, you can prolong the lifespan of your lipsticks and enjoy them for longer periods of time.

Hi, you! I’m Hellen James. I’m a beauty and fashion writer who loves to make the world a little more stylish and I’d love for you to join me in the fun! I’ve been writing about beauty and fashion since I was a kid, but it wasn’t until recently that I really knew what it meant to be a real expert.

