Welcome to the world of nail polish, where a fresh coat of vibrant color can instantly elevate your style. However, a frustrating situation can arise when your nail polish refuses to dry. Don’t worry, we’ve got you covered.
In this article, we’ll explore some easy fixes for when your nail polish won’t dry, ensuring you can achieve beautifully polished nails without any delays.
| Takeaway |
| Proper drying techniques and the right products can help you dry your nail polish faster. |
| Thin coats of nail polish and proper drying time between layers can prevent smudging. |
| Quick-dry top coats and drying drops can accelerate the drying process. |
| Creating a low-humidity environment and avoiding cold drafts can help nail polish dry quicker. |
| Consider natural and non-toxic alternatives for faster drying and a healthier nail care routine. |
| Maintaining the overall health of your nails and following proper nail care practices is essential for a flawless manicure. |
Common Reasons Why Nail Polish Won’t Dry
Before delving into the solutions, it’s essential to understand the common reasons behind slow-drying nail polish. Some factors that may contribute to this issue include:
- Application of thick coats
- High humidity levels
- Unsuitable drying environment
- Poor nail preparation
- Incompatible nail polish formula
Understanding these reasons will help you tackle the problem effectively. Now, let’s move on to the quick fixes you can try.
If you want a salon-quality manicure at home, follow these expert tips for the perfect manicure. Learn the secrets to flawless nails and achieve professional-looking results every time you paint your nails
Quick Fixes for Drying Nail Polish

When you’re short on time and need your nail polish to dry quickly, these tips can be a lifesaver. Refer to the table below for a quick reference.
Table: Time-Saving Tips for Drying Nail Polish
| Fix | Description |
| Thin coats | Apply thin layers of nail polish for faster drying. |
| Quick-dry drops | Use quick-dry drops to accelerate the drying process. |
| Cold water plunge | Submerge your fingertips in cold water to set the polish. |
| Blow dryer | Gently blow cool air over your nails with a blow dryer. |
| Freezer method | Place your hands in the freezer for a few minutes. |
By incorporating these simple techniques, you can significantly reduce the drying time of your nail polish.
Understanding Nail Polish Formulas
To better comprehend why certain nail polishes dry faster than others, let’s explore the components that make up these formulas. Check out the table below for an overview.
Table: Key Components of Nail Polish Formulas
| Component | Description |
| Solvents | Dissolve and evaporate to aid in the drying process. |
| Polymers | Provide durability and resistance to chipping. |
| Pigments | Add color and opacity to the nail polish. |
| Plasticizers | Enhance flexibility and prevent brittleness. |
| Resins | Create a strong, smooth surface that withstands wear. |
| Film Formers | Help the polish adhere to the nail surface. |
| Drying Agents | Accelerate the drying time of the polish. |
| UV Absorbers | Protect the polish from fading and discoloration. |
Understanding the composition of nail polishes can assist you in choosing formulas that suit your needs and preferences.
Prepping Your Nails for Better Drying
Proper preparation is crucial for achieving faster drying nail polish. Follow this checklist to ensure your nails are ready for the perfect paint job.
Table: Nail Prep Checklist
| Step | Description |
| Remove old polish | Thoroughly remove any previous nail polish residue. |
| Clean and dry | Wash your hands and dry them completely before applying polish. |
| File and shape | Shape your nails to the desired length and style. |
| Buff the surface | Gently buff the nail surface to create a smooth canvas. |
| Apply base coat | Apply a thin layer of base coat to enhance polish adherence. |
By following these steps, you’ll establish a solid foundation for a flawless and quick-drying manicure.
Discover the secrets to long, strong nails with these expert tips. From proper care to dietary recommendations, this comprehensive guide will help you maintain healthy and beautiful nails
Top Coat Options for Faster Drying

Incorporating a top coat into your nail care routine can significantly expedite the drying process and add longevity to your manicure. Let’s compare different top coat brands in the table below to help you make an informed choice.
Selecting the right top coat can make all the difference in achieving beautifully dry and glossy nails in no time. Choose one that aligns with your preferences and requirements.
Drying Techniques for Perfectly Polished Nails
Besides the products you use, the technique you employ while drying your nails can contribute to their overall finish. Let’s explore effective drying techniques that promote a flawless manicure.
Table: Drying Techniques for Nail Polish
| Technique | Description |
| Air dry | Allow your nails to dry naturally in the open air. |
| Quick fan blow | Use a small fan to generate airflow and speed drying. |
| Cold water rinse | Rinse your nails with cold water to set the polish. |
| Drying drops | Apply drying drops that accelerate the drying process. |
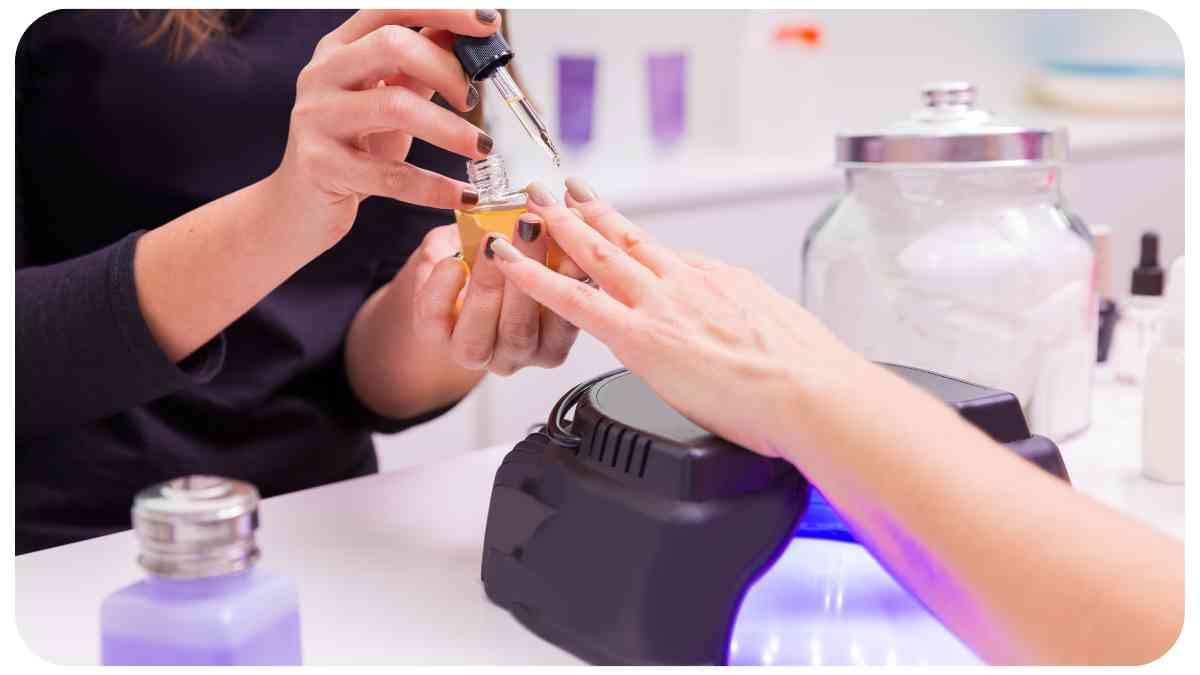
| UV/LED lamp | Utilize a UV/LED lamp for quick, salon-like drying. |
By employing these techniques, you can achieve perfectly polished nails without any drying hassles.
Stay up to date with the nail art trends for 2023 and express your creativity through your manicures. Dive into this ultimate guide and explore the exciting world of nail art.
Dealing with Humidity and Temperature
Environmental factors such as humidity and temperature can impact the drying time of your nail polish. Understanding the ideal conditions for drying your nails can help you achieve the best results. Refer to the table below for guidance.
Table: Ideal Conditions for Nail Polish Drying
| Condition | Description |
| Low humidity | Choose a well-ventilated area with low humidity to promote faster drying. |
| Moderate temperature | Optimal drying occurs at moderate room temperatures (around 70-75°F or 21-24°C). |
| Avoid cold drafts | Cold air can prolong drying time, so avoid sitting near open windows or air conditioning vents. |
| UV exposure | Natural sunlight can help speed up the drying process, so consider spending a few minutes outdoors. |
Being aware of these factors will enable you to create an environment that facilitates quick and flawless drying of your nail polish.
Troubleshooting Common Issues
Sometimes, despite your best efforts, nail polish drying issues may persist. Let’s explore common problems and their solutions in the table below.
Table: Solutions to Common Nail Polish Drying Problems
| Problem | Solution |
| Smudging or dents | Apply thinner coats and allow each layer to dry thoroughly before adding more polish. |
| Air bubbles | Avoid shaking the nail polish bottle, roll it gently instead. Apply thin coats. |
| Uneven drying | Ensure you’re giving each coat enough time to dry. Thinner coats can help as well. |
| Soft or sticky finish | Allow more time for drying or try using a different base and top coat. |
| Slow overall drying | Check for factors like thick coats, high humidity, or incompatible formulas. |
By troubleshooting these issues, you can overcome common challenges and achieve perfectly dried nails.
How to Prevent Nail Polish from Smudging
Dealing with smudged nail polish can be frustrating. Here are some tips and tricks to prevent smudging and ensure your manicure stays intact.
Table: Smudge-Proof Nail Polish Methods
| Method | Description |
| Thin coats | Apply thin coats of polish to allow for faster drying and minimize the risk of smudging. |
| Proper drying time | Ensure each layer of polish is given enough time to dry before applying the next coat. |
| Quick-dry top coat | Invest in a quality quick-dry top coat to speed up the drying process and add protection. |
| Avoid thick layers | Thick layers of polish take longer to dry and are more prone to smudging. |
| Sealing with cold water | Submerge your fingertips in cold water after the polish has dried to set it firmly. |
By following these preventative measures, you can minimize the chances of smudged nail polish and enjoy a smudge-free manicure.
Achieve perfectly hydrated skin and say goodbye to dry nails with this comprehensive skincare routine. Learn the steps and products you need to keep your skin and nails nourished and moisturized.
Tips for Extending Nail Polish Lifespan

Protecting and prolonging the lifespan of your nail polish not only ensures longevity but also saves you time and effort. Consider these tips to make your manicure last.
Table: Longevity Tips for Nail Polish
| Tip | Description |
| Base coat | Use a base coat to create a smooth canvas for your polish and enhance longevity. |
| Top coat | Apply a top coat to add an extra layer of protection and prevent chipping. |
| Avoid water exposure | Minimize prolonged exposure to water and moisture to prevent premature chipping. |
| Wear gloves | When engaging in household chores or activities that may damage your polish, wear protective gloves. |
| Touch-up as needed | Perform small touch-ups to damaged areas with a matching polish color to maintain a polished look. |
By implementing these tips, you can extend the life of your nail polish and keep your manicure looking fresh for longer.
Non-Toxic Alternatives for Faster Drying
For individuals who prefer non-toxic options, there are alternatives available that can help speed up the drying process of nail polish. Consider the following non-toxic nail polish brands, as listed in the table below.
Removing Nail Polish That Won’t Dry
If you’ve encountered a stubborn nail polish that refuses to dry, it’s essential to remove it properly. Here are some effective nail polish removers to consider.
Table: Effective Nail Polish Removers
| Remover Type | Description |
| Acetone-based remover | A powerful option that quickly removes stubborn nail polishes, but can be drying for nails. |
| Non-acetone remover | Gentler on the nails while effectively removing polish, suitable for individuals with dry nails. |
| Natural and organic removers | Plant-based removers that are free from harsh chemicals, providing a safer option for your nails. |
| Gel polish remover | Specifically designed for gel polish removal, ensuring efficient removal without damaging the nails. |
By selecting a suitable nail polish remover, you can effectively remove nail polish that won’t dry and prepare your nails for a fresh application.
Discover the numerous benefits of using organic beauty products for your overall beauty routine. Explore the advantages of organic ingredients and make informed choices for your skincare and nail care products
14. Nail Care Tips for Healthy Nails
While focusing on drying nail polish, it’s important not to neglect nail care. Here are some essential tips for maintaining healthy nails:
Table: Nail Care Essentials
| Tip | Description |
| Moisturize | Regularly apply moisturizer or cuticle oil to keep your nails and cuticles hydrated. |
| Trim and file | Keep your nails at a suitable length and shape by trimming and filing them regularly. |
| Protect | Wear gloves when performing activities that can damage your nails or expose them to harsh chemicals. |
| Healthy diet | Maintain a balanced diet rich in vitamins and minerals to support strong and healthy nails. |
| Avoid nail biting | Refrain from biting your nails or picking at them, as it can weaken and damage them. |
| Regular breaks | Give your nails regular breaks from nail polish to allow them to breathe and recover. |
By following these nail care tips, you can promote the overall health and strength of your nails, ensuring a solid foundation for your nail polish application.
Conclusion
When nail polish won’t dry, it can be frustrating, but there are several solutions to help expedite the drying process. By applying thin coats, using quick-dry drops, and creating a suitable drying environment, you can achieve beautifully dried nails in less time. Additionally, understanding the components of nail polish formulas, prepping your nails properly, and using top coats can contribute to faster drying.
Remember to consider environmental factors, troubleshoot common issues, and employ preventative measures to avoid smudging and prolong the life of your manicure. Finally, prioritize non-toxic alternatives for healthier options, follow proper nail polish removal techniques, and maintain overall nail care for healthy and strong nails. With these tips and techniques, you can enjoy perfectly polished and quickly dried nails.
Further Reading
Here are some additional resources for further reading on drying nail polish and related topics:
How to Dry Nails Faster: This article provides tips on how to speed up the drying process of nail polish, including techniques and products to try.
How to Thin Out Nail Polish: If you have thickened nail polish, this guide offers methods to thin it out and restore its consistency for easier application.
4 Ways to Fix Your Nail Polish if It’s Gone Thick: Discover four effective methods to revive thickened nail polish, allowing you to use it again without any hassle.
These resources provide additional insights and solutions for various nail polish-related issues.
FAQs
How long does it take for nail polish to dry?
The drying time of nail polish varies depending on factors such as the thickness of the coat, the formula used, and the drying technique employed. On average, nail polish can take anywhere from 10 minutes to 1 hour to dry completely.
How can I dry my nails faster without damaging them?
To speed up the drying process without causing damage, you can try using quick-dry drops or sprays specifically designed to accelerate nail polish drying. Additionally, make sure to apply thin coats, avoid humid environments, and use a top coat for added protection and faster drying.
Why does my nail polish smudge even after it’s dry?
There can be various reasons for smudging, such as applying thick coats of nail polish, not allowing enough drying time between layers, or using incompatible base and top coats. It’s important to follow proper drying techniques and use quality products for smudge-free nails.
Can I use a hairdryer to dry my nails faster?
Using a hairdryer on a cool or low setting can help speed up the drying process of nail polish. However, make sure to keep the dryer at a safe distance from your nails to avoid heat damage.
How often should I give my nails a break from nail polish?
It is recommended to give your nails a break from nail polish for at least a few days every 2-3 weeks. This allows the nails to breathe, prevents staining, and reduces the risk of any potential damage from prolonged polish use.
These frequently asked questions offer helpful insights and solutions to common concerns related to drying nail polish and general nail care.

Hi, you! I’m Hellen James. I’m a beauty and fashion writer who loves to make the world a little more stylish and I’d love for you to join me in the fun! I’ve been writing about beauty and fashion since I was a kid, but it wasn’t until recently that I really knew what it meant to be a real expert.

